I teach extended-day preschool one day a week for this adorable little preschool named Magical Moments. You can access their website here. It's the same preschool my older boys attended while they were of preschool age. Extended-day preschool is just that, an extension of the regular preschool day. The children attend regular preschool & instead of going home at the end of the morning, they come & eat lunch with me. Then we have about an hour after lunch for instructional time. Extended-day looks different in each preschool. In this particular school, we use that instruction time to teach early literacy skills. It's a little extra bonus to the regular preschool day.
I really enjoy this time; its super fun to be around preschoolers. They are bouncy, happy individuals & it's hard to be in a bad mood around that much spark. I enjoy that I get to teach basically whatever I'd like & I don't have to follow any set curriculum since I'm an extension of the regular day. I try to stay within the themes that the other teachers are teaching and I always try to do something fun. I believe that when you're 4 & 5 years old, your learning should be fun. Actually, your entire life should be fun at that age. This week I brought out the big dogs:
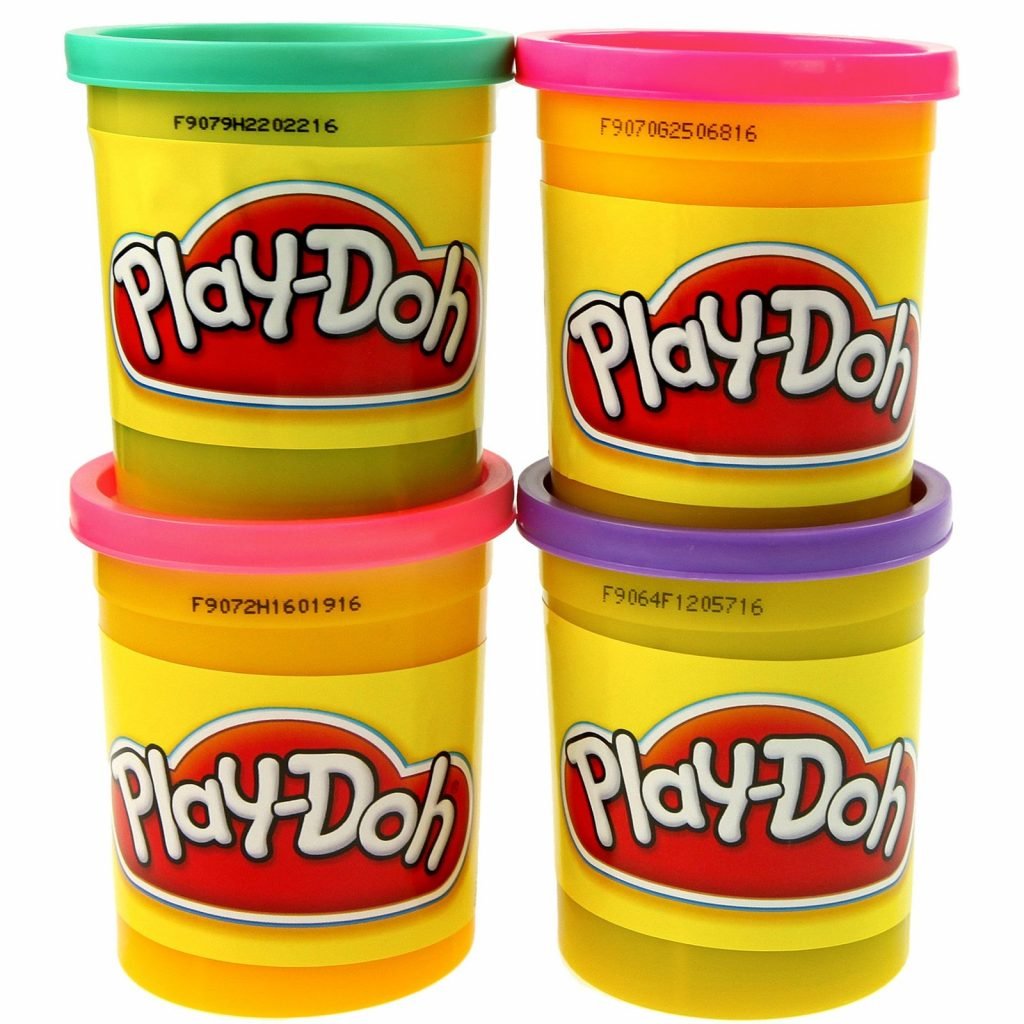
Oh, Yeah!
Now, I am one for cost savings & I do know that Pinterest has about a 1000 make-your-own-play-doh recipes. But to a child (and to me!), there are few things more glorious than sinking your fingers into a fresh jar of Play-Doh. There is no comparison between the homemade stuff & the real stuff. The consistency is never the same. AND Play-Doh is pretty cheap. So, do your child a favor & spring for the good stuff. It's worth it. Just throw it out when it gets dry- gross.
I love Play-Doh for many reasons: the smell, its educational versatility, the smell. I know some people hate Play-Doh; it makes my husband seize every time those jars come out. If you can get past the crumbs, there's a lot of teaching that can be done with Play-Doh. It's also great fine-motor practice. I'm going to share with you one way I used Play-Doh to teach early literacy.
The Lesson
This week we used Play-Doh to teach & review the properties of letters, how letters are formed. Now, most of the students in my preschool class know the majority of their letters & can name them when shown that particular letter. So, why am I still teaching letters? The shift in education has switched from memorization & regurgitation of knowledge to the application of knowledge. This is true in all subject matter & all grades, from high school down to kindergarten. Kindergartners are no longer expected just to know letters; they are expected to apply them in reading & writing. In our school district, this application begins right away, usually within the first months of kindergarten. The more children know about letters, the easier to begin this application process; therefore putting your child ahead of the game when he walks in the door on the first day of kindergarten.
Short sticks, long sticks, curves, slants & tunnels
Those are the properties of letters, the shapes you need to make each individual letter. The way you put letters together matters. We started by rolling the Play-Doh into "snakes". Then, we chose a letter to make first. "E" was our winner. I asked them to think about how you'd make an uppercase E. It went like this:
"What piece do we need first? A stick or a curve?"
"We need a stick."
"A long stick or a short stick?"
"A long stick, that goes up & down."
"Great, what's next?"
"Short sticks."
"How many?"
"How many?"
"Three, they go like this."

We did the same thing for lowercase b.
"How do you start a lowercase b?"
"With a long stick, going up & down."
"Great! What's next?"
"A curve."
"How many curves for lowercase b? You need two curves for uppercase B."
"One curve."
"Where does it go? Be careful that you don't make a lowercase d."

You have same conversations about each letter as you make them, bringing awareness to how they are formed. Lowercase n has a tunnel, u has an upside down tunnel, you make uppercase K with two slants, etc. The purpose is just reemphasizing letter formation.
Why is this important?
In order to apply letter knowledge during reading & writing, children need to recall from memory what those letters look like and how to form them. The faster they can do this, the more fluent their reading is going to become & the more accurate their written word & handwriting will become. It's a lot easier to decode the word "dog" if you know at first glance that first letter is a d instead of a b. When we ask children to label pictures or write a sentence, we're asking them to do a lot of steps all at the same time.
They have to:
- Say the word they're trying to spell
- Listen for the letter sounds they hear in that word
- Remember which letter makes that sound
- Recall how to form that letter correctly
- Write that letter in the appropriate place on the paper
- Get those letter sounds in the right order, so it's phonetically "correct"
What else can I do?
Well, there are a lot of fun ways to teach & apply this concept without having to break out the Play-Doh. You could use magnetic letters or any kind of tangible letter to sort letters by sticks, no stick, curves, no curves, etc. If salt or shaving cream doesn't scare you, you could put either on a tray & let your little one practice writing the letters with her fingers. If you want to get super crafty, you could cut out sticks, tunnels & curves out of foam paper (so they're sturdy) & practice forming the letters using the pieces. Does your child need something more physical to keep his attention? Try sidewalk chalk or a fun game where you write the letters & he has to jump to the ones that have only sticks, only curves, and so on. Anything FUN is fair game!
Letter learning is more meaningful when those letters are attached to something your child can relate to: his first & last name, names of siblings, favorite characters, toys, etc. Practicing those letters individually will definitely help, but you may get more bang for your buck if you connect them to something that your child thinks is awesome.
Happy letter learning! Oh, & don't forget to inhale while you're squishing that lovely Play-Doh. :)
What's your favorite letter learning strategy? Did anything help your child learn those letters fast? Share your ideas via email, comments or Twitter @preschoolmomma
 Follow my blog with Bloglovin
No comments:
Post a Comment
Something to share? Leave a comment!